Showing posts with label Builds. Show all posts

Saturday, July 20, 2013

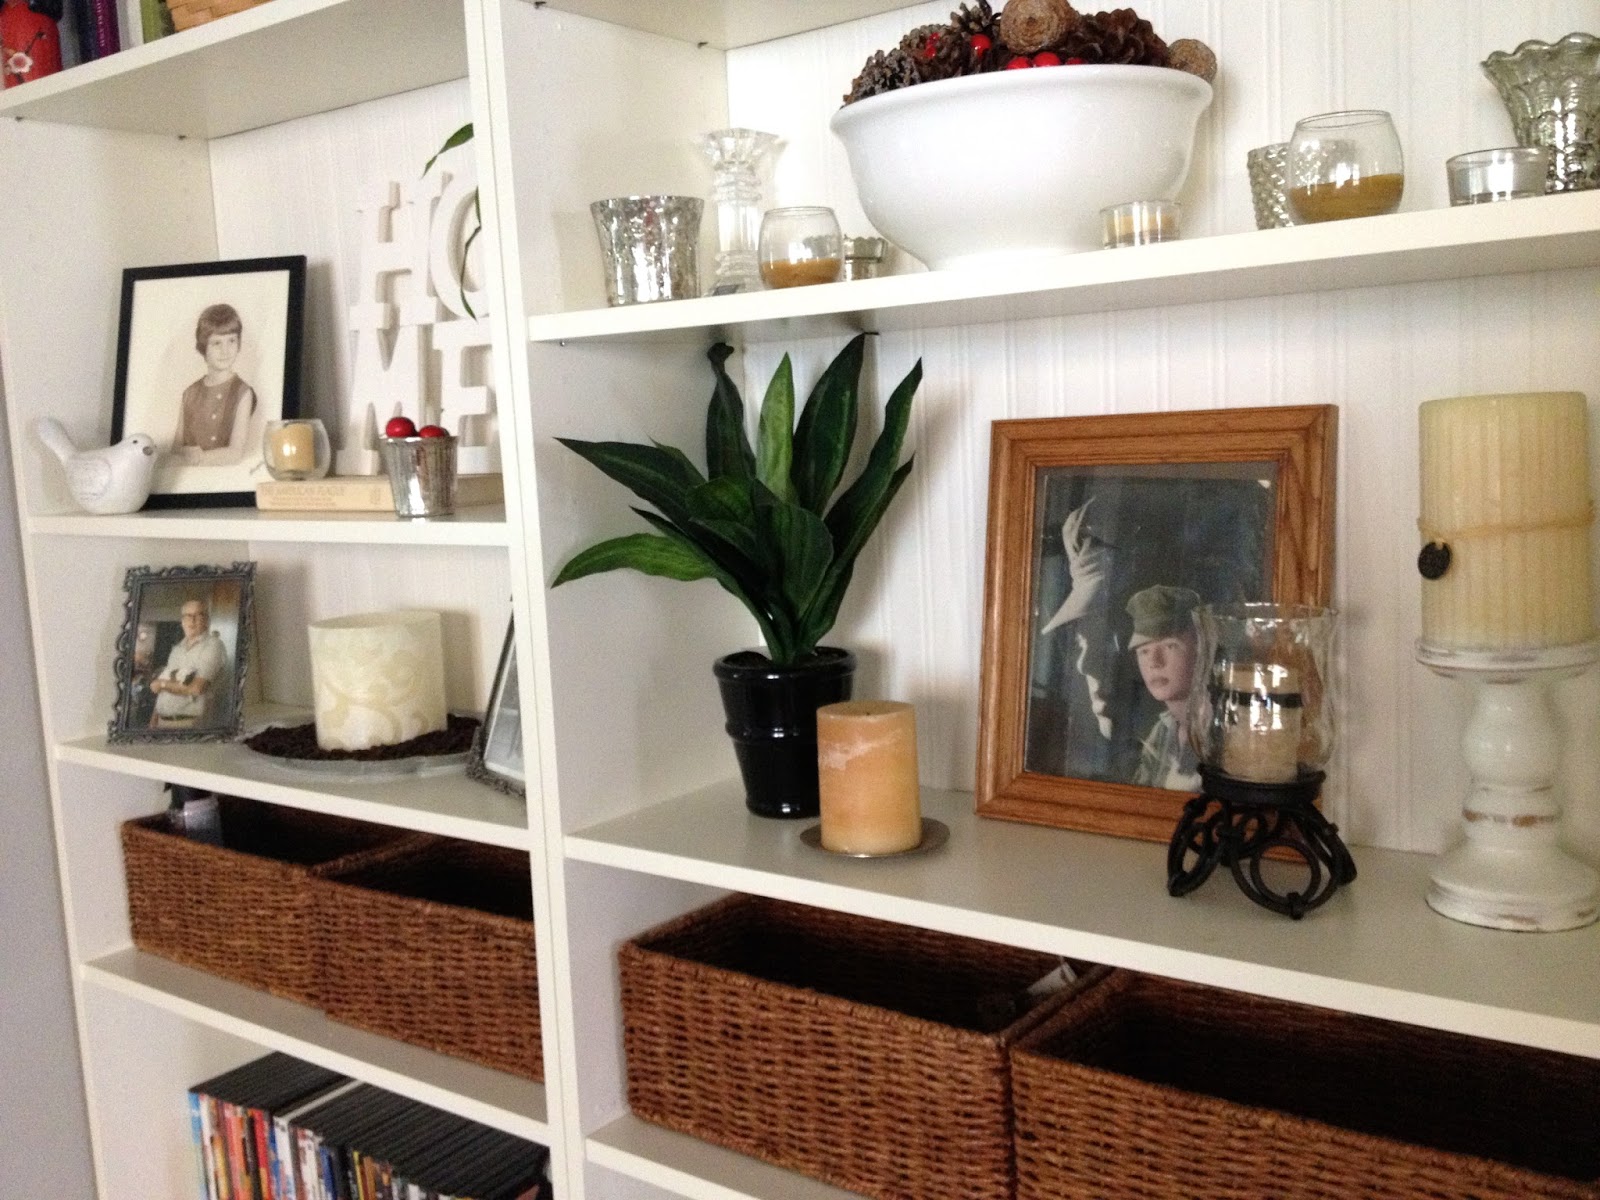
Caulk and a Billy Bookcase: Hiding the Holes

I made the mistake of asking the man, "Can you show me where the caulk is"? Do NOT ask your boyfriend/husband that question unless you want to hear, oh, about 100 jokes about, well, you know...

Trust me. This is experience talking.


This is part 2 of how to make a Billy Bookcase into an Entertainment Center Built-In and this part is soooo simple. It's even easier than the wallpaper project that we did in the previous post and this takes about half the time.

What You Need:
  • Caulk (latex or latex mix recommended)
  • Caulk gun
  • Spatula
  • Paper towels (recommended)
There is a type of caulk that you can buy that doesn't require a gun, but I have never used it before so I can't say how it works. But there are options. If you have questions, just ask your local home depot sales man and I'm sure he'll have the answer! 

There are lots and lots of peg holes in a billy bookcase. It's really not too bad once it's over but when you're just starting the project, well, it just looks overwhelming!

Eck!


From personal experience, I recommend removing everything off the shelves and then taking a big, deep breath. Now grab that caulk gun and get to work!


That's my serious face.

Monday, June 17, 2013

DIY Simple, Cheap Shabby Chic Headboard

The Man's mother is coming for a visit soon which has forced me to amp up on my guest room revamp.  I really have been inspired by people using shutters and pallet wood as headboards, but I couldn't find any affordable shutters and I was having trouble finding nice looking pallets, so I decided that I would just make my own from supplies at Home Depot.

Of course since I'm a newbie at the whole making furniture thing and I'm also kind of broke, I decided to take it easy and design something that would be simple and CHEAP.

The end product looked like this:


I already had the paint, sand paper and caulk, but everything else cost me less than $30 to build this headboard.

What you need:


  • 5- 1x6 boards cut to the dimension of your bed frame. This is a full bed so the boards were cut to 53 inches. 
  • 2-- 1x4 boards cut to the length of your headboard including any gaps between the boards and if you want them level with the headboard or if you would like them to be a little lower. This is all preference.
    • Our headboard length of the 1x6s (without gaps) was 27.5 inches. We added 1 inch for the total of all gaps, but I wanted the vertical boards (1x4)
      slightly shorter than the total length of the headboard so we subtracted an inch so I would have 1/2 inch difference between the headboard and the vertical board on both the top and bottom. Therefore, the vertical boards were cut to 27.5 inches. Whew! I hope that made sense! 
  • Wood Screws (I used 1 1/2 inch)
  • Anchors with screws (size 8, 1 /3/4 inch length)
  • A Level
  • Paint (either spray paint or actual brush paint)
  • Sand paper (recommend at least medium)
    • The more rounded you want your edges, the higher grit you should use. A rough sandpaper will help you get the soften look faster, but then you'll need to go back over it with a fine sandpaper to smooth out the roughness. With a medium grit sandpaper, it isn't necessary to go back over it with a fine sandpaper, but you can depending on your preference. 
  • Caulk 
Start by sanding because that really is the most important step! 

I used a medium grit sand paper for the edges and I was aggressive because I like them to be a bit rounded so they are a little softer. 

I used my hand held sander because it's much easier on the hands. I love that thing! If you can, it's also nice to go over medium to heavy grit sand paper with a finer sand paper to smooth things out anyways. 

While I did all the sanding, the man was cutting the 1x4. He is amazing when it comes to wood work! I swear he can do anything. I told him that I wanted it to look softer and within a couple of minutes he hands me a board and says "Is this good enough"? Perfection.

I'm a lucky girl. I can't tell you how he did it and he says he can't tell you how he did it because he free handed it without any guides (I told you he was amazing), but I know that you can ask the guys at Home Depot to cut angles for you and I think that would work just as well.


Saturday, June 15, 2013

Build a Craft Table in the Closet (It's Cheap and Easy! Do It!)

This is a project for all you closet crafters...

Muahahaha! That was my attempt at a bad joke. It made me giggle.

Ok, so seriously, I don't have a huge house and I have to maximize space so my guest room doubles as a craft room. Since I have to put a bed in there, I don't really have enough space to set up a table in the room. Oh, what to do?!

The only logical thing to do: I took the closet. Guests don't need closets. Psh!


This is my first completely from scratch work project that my brain (and only my brain) has planned so I made it pretty simple so it would go easily!! Usually I consult "The Man" and he will draw up a plan for me and tell me what to buy, but I wanted to do this myself and impress him since I had so much fun impressing him with my build: Knock-off Pottery Barn Hyde Console Table.

So, for inspiration I've been looking at pictures on pinterest of people utilizing their closest as a desk space in their office or work room. I really want a place that I can dedicate to sewing, painting and crafting so I decided that I'd do the same in my guest room with a craft table.

What you need:

MDF or wood measured to fit your space
L-brackets for shelves that will go into the support beams of the house
Screws
Sand Paper
Oil-based primer
Paint
A creative way to prop up your board (see below)


I used a rather large piece of MDF: 24x70 for the base of my table. I really want it to look good so I sanded and sanded and sanded and sanded... did I mention I sanded? I learned from previous projects that its often nice to pay attention to the curves of the wood/MDF with the sander to soften them up just a bit.

Also, don't forget to wipe the board off after sanding. I forgot to do that once. ONCE. Trust me, you want to wipe the board.

And then I used an oil based primer in white to coat the table. This stuff is a biotch to get off if you get it on yourself, so be careful. The man tells me that you need some sort of special stuff that I don't have to get it off.

Yes, you want to be taking advice from someone who doesn't care about being covered in paint and not having the items necessary to remove it. It means I'm a rebel and it's totally cool. Right?

I'll assume you said yes.

I am not a neat painter. I get paint everywhere. I was covered in it and I couldn't get it off for days. Hence the sheet under the ghetto tupperware prop to TRY to protect my garage floor. HA!

So why oil-based primer? I read that it's really important to use oil-based primer because if water get in contact with MDF it will swell and that's probably not the look you're going for. I wasn't about to challenge the authority of Google so I bought the oil-based primer.

It takes about 24 hours for the primer to dry so its TORTURE!! After it dried I sanded some more. Blah!!

I decided to paint my table the same color as the trim in my house: Super White by Benjamin Moore. Why? Because I already had it. I wanted white and a semi-gloss. It works. It's free. I likey. The higher gloss you go the easier it is to clean, too, so I recommend at least a satin or higher.

Even after I primed it I had to paint two coats onto the board to get good coverage and then I spray painted it with shellac to seal it just in case.

After that the majority of the work was done!

Next I decided the height of the table and then "The Man" just couldn't stand that I was doing something manly without him so he helped me put the brackets on the wall and slide the MDF into place. We used four brackets and spaced them where there were support beams in the wall. That thing isn't going to budge.

Tada! All done!

I put my crafting supplies, art easel. sewing machine on the table, and silhouette portrait, then added some storage for more supplies. I spray painted a plain pegboard and the wire baskets to hold small supplies like paint, tape, scissors, and other things that I grab often. I found a storage container on clearance (yay!) for my yarn, small decorative piece, scrapbook art, and a few other crafty things. I love it and it fits perfectly under the table!

I repurposed a large basket (I found on clearance at pottery barn for $29) as storage for wrapping paper under the table. I found a set of canvas boxes on Amazon.com for super cheap to use as storage on the shelves and they hide most of my crafting supplies. I can even use them to store some of my smaller painting canvases, but the larger ones I have to put under the table.

I'm going to make little chalk signs to label them with their contents. I thought that might be more practical than using something permanent like vinyl because I change what I store in them so often. I also think cute little chalkboard signs would add a little character to the boxes, too. Plus, I'm a little obsessed over chalkboards. I made two for my house and a third for my bestie's house so I have plenty of chalkboard paint waiting to be used in my garage.

I also found some under the shelf wire baskets in the closet section at Home Depot. They are awesome. I put my vinyl and contact paper in one of them and some other supplies that I use often (glue, paints, small fabric, chalk) in the other.

The Man was so impressed by these little baskets he wanted some for his closet space. Haha! I'm a trend setter! :)

I also used a tension rod to hang up my ribbon in the corner. I love it! I just take what I need when I need it and I can see everything I have at a quick glance. No more looking through boxes! Yay!

Since the room is so small, we took down the original closet doors because since they were the folding out kind they just took up too much room.  I made curtains for the closet so we could close up the crafting area if we needed to use the space for a guest room. I re-used an old chair that I had gotten from Overstock.com for $30.

It still need a little bit of work, but it's getting there!


Friday, May 24, 2013

Using Beadboard Wallpaper on Ikea Billy Bookcases

When I first moved into my house I had this large niche in the great room that I really had no idea what to do with. And by large I mean large: 10 feet high and 15 feet wide.

The man had a vision of a cordless mounted TV, but he didn't want anything to cover the cords-- he wanted them behind the wall. He worked tiresomely for days removing drywall, running electric wires, installing new outlets, and then the patching drywall and repainting. It looks PERFECT. If you ever came to my house you would never know it wasn't built that way. That's one of the reasons I adore him. :)

As you can expect, I was browsing on Pinterest trying to find ideas what to do with that niche and I saw a few build your own built in bookcase by using Ikea Billy Bookcases. Brilliant! They are cheap, labor is cheap (the man works for cookies), and it really didn't seem all that hard. 

So I went to Ikea and bought four Billy Bookcases in white and the man lovingly assembled them for me. I then went to Lowes and I bought four rolls of beadboard wallpaper because I had no idea how many I would need. Let's be honest-- I mess up a lot. After I bought the wallpaper, then I waited 9 months to put it up. This has been the most I've ever procrastinated in my life. I think. 

This is why I decided to write this blog post in parts so that it'll actually get done... slowly.

Here are the planned steps:
  1. Beadboard the backs of the bookcases 
  2. Fill the holes of the bookcase 
  3. We will build doors for the lower part of the bookcases
  4. We will build an entertainment center to hold the DVR and DVD player. 
  5. The man will remove the existing trim and replace it onto the bookcases. 
  6. Both of us will trim out the entire bookcase system to cover an gaps where wood meets.
  7. Sand and paint! 
It sounds like a lot when I put it down like that, but I swear the lady on the original blog post made it seem like it took her 3 hours to do. Granted, she was only making a built in with two bookcases and not an entertainment center, but man!. ::sigh::

The things that I do to myself....

Saturday, January 19, 2013

Building the Hyde Pottery Barn console table

If my American Indian ancestors gave me a name it would be "She who is Cheap". The problem is that I also have expensive taste. I love, love, love Pottery Barn. I also love Michael Kors, Coach, Gucci, Jimmy Choo, and all things pretty. Especially shiny things. ::sigh::

Anyways, I have had this bare spot in my living room that has been asking me to put something from Pottery Barn there. Through much painstaking research I have decided that I wanted something like the Hyde Pottery Barn Console Table. Okay, not something like.... I wanted the Hyde Pottery Barn Console Table, but it also would cost $500.

Hahaha!! $500 for a console table. That's just ridiculous says my cheap, fugal self.

So I look at ebay and craigslist... nope, no one selling my dream table. And then a miracle happens.... I stumble across Ana White's blog. If you have not yet virtually met Ana White then you are missing out on life, my friend. Seriously, she has Pottery Barn knock offs, Pier One knock offs, knock offs of things I don't even know about and they are ALL beautiful.

Find the full build plan for the Hyde Console Table at Ana's Website.

Copyright

©overthrowmartha.com by Sherri Griffin, 2012-present. Unauthorized use and/or duplication of this material without express and written permission from this blog’s author and/or owner is strictly prohibited. Excerpts and links may be used, provided that full and clear credit is given to Sherri Griffin and Overthrow Martha with appropriate and specific direction to the original content.

Boring Disclaimer

The contents found on Overthrow Martha are not intended to diagnose, treat or cure. If you have concerns, please contact a doctor before altering your health care routine. If you feel as if you are having any adverse side effects please stop using the product immediately and consults a physician.

Statements on this website have not been evaluated by the Food and Drug Administration.

All affiliate links are used to help keep Overthrow Martha up and running while a portion is donated to charities.

You rock for reading all of that. {pats you on back}