
The internet is full of confusing information about cleaning your face with oil right now. I've read so many crazy things that I wouldn't be shocked if someone said that it only works if you if you stand on your head and sing kumabya while you rub your face with oil. It's insane. Everyone has an opinion.
Including me {grins}
I totally understand why so many people are confused about OCM. Hopefully I can tell you what I've learned and help you figure out what is best for you.
If you'd like to join my Natural Living Support Group on Facebook please
fill out this form!
My Story
I started off using
coconut oil as a facial cleanser because with all the hype I knew there must be something to it. I did some research and most of what I read was really promising. I was still nervous because in a few places I saw that coconut oil gave people complications with their skin.
The coconut oil made my skin really soft and well hydrated, but I ended up getting some pimples on my forehead which appear to be comedogenic acne (clusters of small, hard pimples) which happens when a particular oils clogs your pores.
{sigh} You can read more about comedogenic acne
here. For me, it was time to go back to the drawing board.

I am sure many people will use coconut oil and it will work wonderful for them and you may be one of them. In fact, I just met someone who has been using coconut oil and her skin looks wonderful! It just doesn't seem to work for me. ::sad face::
I wanted to keep trying OCM, but I was worried that it would cause similar results so I decided to decrease my chances of having a reaction by blending my oils.
I already knew that blending jojoba and almond oil works well for my skin because I use them in my
Aloe Moisturizer and I have seen amazing results. It's basically my beauty product security blanket. I really wanted to use what worked in that product and translate it into something new to cleanse my face with.
If it ain't broke, don't fix it, right?
Blending Oils 101
Blending oils for facial cleaning, which is part of the oil cleansing method (OCM), has been very popular in the last few years. The idea is that by using multiple oils you can reap the benefits of each one and decrease your chances of having side effects from either.

Blending oils is so easy! But I want to stress that it is very important to get
quality ingredients because your results will reflect the quality of your products. You should try to purchase non-refined, cold pressed, 100% oils with no additives. If you can, then please purchase organic because that will ensure that no pesticides were used in the growing stages of the plant. Remember, this stuff is going deep into your skin so buy the best that you can!
Let's get started so you can try the Oil Cleansing Method (OCM)!
Basically, you can pick your oils based on your skin type, but it is recommended that you use one product that is an astringent:
Astringents
You have three options for astringents:
- Natural oils
- Essential oils
- Separate astringent after OCM
Here are some
natural oils that you could use:
- Grape Seed Oil
 for any skin type, but most helpful for oily skin
- Castor Oil for all skin types, but highly recommend for acne prone skin, but not for sensitive skin
- Hazelnut Oil for all skin types
*If you have hemophilia, take blood thinners or have another blood clotting disorder do NOT use Grapeseed oil. It improves circulation, but, in these conditions, may effect the clotting of blood.
If you do decide to use castor oil it should be 50% or less of your blend due to the level of sensitivity, it's reputation to dry out the skin, and it's ability to deep clean. Don't eyeball it. Measure it. I actually recommend starting out with less and working your way up. Personally, I think a range between 10% to 30% castor oil in a blend is all you ever need (and want), but you may find that you disagree. I just urge you to not use more than 50%.
Essential Oils
You can use an astringent essential oils such as juniper, carrot seed, ginger, lavender, myrtle, patchouli, rose, rosemary, and frankincense. I particularly LOVE frankincense for my complexion-- it's fantastic! Lavender is my other favorite because it can help to smooth out raised areas or scars.
I recommend that you start small and use 4 drops of an essential oil per ounce of natural oil if you have dry skin and up to 8 drops/per oz if you are oily. If later you feel as if you need more or less, then go up or down by one drop at a time. You do NOT want to exceed 12 drops combined of all essential oils per oz as it is recommended to keep essential oils to 2% or less of a skin care product. Even at 2% you will think the scent is weak, but trust me, it's better than having skin problems!
Just make sure that you do a small "test" of your mixture on your wrist or hand before you use the product. They are very concentrated and you don't want to have a reaction slapped across your entire face. And remember, never use undiluted essential oils on your skin as they are far too concentrated.
Unfortunately, it's very difficult to find quality essential oils that are safe for skin care because the regulations are so poor. In fact, an essential oil only needs to be 10% "pure" to say that they are pure on their label! I have spoken to several people who have used brands which have caused them to develop skin conditions. So please be careful and only use high quality oils.
If you want to learn more about essential oils please read this post about
how to get good quality essential oils
You can also join my Natural Living Support Group on Facebook by
filling out this form. We talk a little about everything natural, but we always have lots of fun!
Astringent after OCM
You can also use an astringent product (such as witch hazel) after you use OCM. I like
Thayers Witch Hazel
Witch hazel is typically gentle on skin and has great properties for acne, rosacea, and other skin problems because of it's anti-bacterial and anti-microbial properties. It is a gentle astringent which also has moisturizing properties so it's less likely to dry your skin like other astringents.
Blending your Oils
After you decided on your astringent, then you can pick your oils! I recommend using one of these oils with an astringent oil OR two of these oils with essential oils or a separate astringent method.
*Note that if you have a food allergy or sensitivity to a the food product listed in the oil, then do not use that oil on your body or face

After you pick your oils, then you combine them at a 1:1 ratio (with the exception of castor oil- please use 90% whatever oil you picked:10% castor oil to begin).
There is no medical reason why you can't choose more than one or two oils. Theoretically, you could put all of them in a jar, but the problem is that the more oils you pick, the harder it will be to tell which ingredient is causing any reactions. Also, the more diluted they are, the less of a result you will get. I recommend 2-4 oils, but you are free to make your own recipe. That's the beauty of making your own products-- you can really make it perfect for your skin.
But if you have never used oil on your skin before, then I would strongly recommend trying two oil initially, and then waiting a few weeks before you add another just to make sure that you don't have a reaction.
If you decide you need more moisture or are too dry, then increase your ratio of the oil that is for your skin type by 2:1 (again the exception is castor oil: You can slowly go up to 50% of the blend if you are oily and as low as 10% if you are dry. If you are still dry at 10% remove it completely and add a different oil)
Bare with me because I want to show you some examples:
Example: You have oily skin. You are using Grapeseed oil (oily skin) and Coconut oil (all skin types) at a ratio of 1:1. Your skin is still oily, so you increase the proportion of grape seed oil to coconut oil to 2:1. Also it can be said this way: grapeseed 66% and coconut 33%.
And, yes, I know it only adds up to 99%. I wasn't a math major, but I'm sure that there are some decimal places behind those numbers somewhere!
Example: You have regular skin. You are using Jojoba oil (all skin) and Castor oil (all skin) at a ratio of 80% jojoba and 20% castor oil. You notice that you are getting dry spots on your chin and cheeks so you increase your jojoba to 90% and your decrease your castor oil to 10%.
Example: You have dry skin. You are using sunflower oil (all skin) and avocado oil (dry skin) at a 1:1 ratio with 5 drops of lavender essential oil per oz of natural oil. Your skin is still dry. You can increase your avocado oil to 2:1 OR you can decrease your lavender essential oil to 4 drops. If you are severely dry, then perhaps try both.
I recommend reading
Crunchy Betty's post about coconut oil and the oil cleansing method. She's one of my favorite resources because she does a lot of research and is very detailed.
For ideas about making your blends, I have been informed that
I cannot "prescribe" you a custom blend to try for your particular skin type. My suggestion is to listen to your skin-- it will tell you what it likes and what it does not like. There are also many comments below which can help guide you in your selection and also a list of
comedogenic oils-- the higher the number, the more likely to cause acne.
How I Am Using The Blend:
I have combination skin so I started using jojoba (all skin types) and almond oil (oily skin) at a 1:1 ratio. I became dry, so I removed the Almond oil and replaced it with Avocado oil at a ratio of 1:1. My skin felt better, but I was still a little dry so I change my ratio by increasing the avocado oil to 2:1 and my skin loved it! But then my oily T-zone started to be a little too oily, so I added the almond oil back in for a ratio of 2 Avocado: 1 jojoba: 1 Almond. My skin seems to looovveee this combination!
I cleanse in just a few easy steps:
- Lightly massage the oil into your face
- Use a warm to hot washcloth on your face for at least 30 seconds to help loosen up the gunk in the pores and open them up so that the dirt can be removed.
- Softly wipe/blot away the oil and dirt with the washcloth. Especially if you have sensitive skin-- no scrubbing!
- If you still feel oily after 10 minutes, then splash a little water on your face to remove any extra.
- I follow up with a witch hazel astringent (post to come!)
I can't believe how much dirt is on my face when I clean with this product! Amazing!
If you want to add essential oils here is a chart that talks about the benefits of each. Remember though that citrus does make your skin more photosensitive.
Essential Oils Benefits to the Skin
If you have a different skin type or this formula doesn't work for you, then experiment with the information provided and see if you can't make something wonderful for yourself. If anything I've found out is that OCM is very much an individual process. There is no magic formula that will work for everyone so if this is something you want to do, then it's probably going to take a little experimentation.
Troubleshooting:
If you have sensitive skin, then you may want to only use a lukewarm wash cloth as the heat my irritate your skin. Also, you may want to gently pat your skin with the washcloth to remove any excessive oil and then splash cool water on your face to remove the rest.
Do you feel like OCM is too much for your skin?
You don't have to do OCM every night. I do OCM every other night, while others cleanse with oils once a week or any where in between.
If you have any
redness, itching, or develop a
rash there is a good chance you are allergic to something in your blend. Usually, it is an oil made with nuts or it could be the essential oil if it's not therapeutic quality. I would stop the OCM until the symptoms calm down and then eliminate the suspected culprit or change your OCM formula.
If your skin becomes just terrible immediately after you start the oil cleansing method (OCM), then you should probably listen to it. You probably have the wrong blend. I suggest stopping it completely while letting your skin return back to normal and using something gentle like the
aloe moisturizer, which also has a gentle cleaning ability. When your skin calms down, then use a new formulation.
However, if you simply have a
few extra pimples in the beginning it is probably
NOT a reaction, but simply the skin purging itself of the old toxins and attempting to get used to the new, healthier method. This is especially true if you have used OTC acne meds, prescription acne medication, or have frequently used chemical peels. You can add Frankincense essential oil to your mix to prevent acne or you can use raw honey to treat existing pimples.
If you start to have
clusters of acne around one month after starting the OCM that are small bumps, then one of the oils is probably blocking your pores. Research shows that this is usually a result of olive oil or coconut oil, but it can happen with other oils too. You can check this chart to see which oils in your blend may be causing your blockages:
Comedogenic Ratings of Oils. Either remove the oil or blend it further with a less comedogenic oil.
If you start to have
excessive drying, it may be due to jojoba oil or castor oil-- either remove it, decrease the amount in your formulation or dilute it with a moisturizing oil like avocado oil.
If your skin feels dry, you may be tempted to exfoliate more often.
Exfoliation should only be done at the same rate the skin cells turn over: every 2 weeks at most. If your exfoliate too often, then you are making your skin raw and more susceptible to irritation.
Recommendations
I recommend using a honey mask once a week while using the OCM. I use one with coconut oil and avocado and it works great for me. The honey is the absolute best solution to keeping bacteria in check which is great for conditions like acne, eczema and psoriasis.
You can also use the honey mixed with cinnamon at equal ratios as a spot treatment for acne. However, this may irritate sensitive skin. If you have sensitive skin, then decrease the amount of cinnamon.
I have been researching and working on this post for weeks so I really hope it helps. Please let me know how things work out for you or if you have any other useful information to add!
Questions?
If you'd like to join my Natural Living Support Group on Facebook please
fill out this form or you can read
DIY Beauty Basics 101
If you want more Coconut Oil ideas
Coconut Oil Hot Chocolate
And if you're Pregnant or planning on becoming Pregnant, you have to read this!
Avoid Chemicals in Cosmetics while Pregnant
Disclaimer: Young Living and Amazon affiliate links are provided. This means your price stays the same, but I receive a small commission to support my blogging shenanigans.


 I have a love hate relationship with my kitchen sink.
 The internet is full of confusing information about cleaning your face with oil right now. I've read so many crazy things that I wouldn't be shocked if someone said that it only works if you if you stand on your head and sing kumabya while you rub your face with oil. It's insane. Everyone has an opinion. Including me {grins}
 I am sure many people will use coconut oil and it will work wonderful for them and you may be one of them. In fact, I just met someone who has been using coconut oil and her skin looks wonderful! It just doesn't seem to work for me. ::sad face::
 Blending oils is so easy! But I want to stress that it is very important to get quality ingredients because your results will reflect the quality of your products. You should try to purchase non-refined, cold pressed, 100% oils with no additives. If you can, then please purchase organic because that will ensure that no pesticides were used in the growing stages of the plant. Remember, this stuff is going deep into your skin so buy the best that you can!
 After you pick your oils, then you combine them at a 1:1 ratio (with the exception of castor oil- please use 90% whatever oil you picked:10% castor oil to begin).


 In my quest for chemical free cleanliness, I started browsing the internet for ideas about fabric softener and I was bombarded by this recipe that is based on mixing vinegar with hair products. I'm sorry, but ew. Gross.
 I love vanilla extract, but that stuff is expensive! In true diva hippy fashion, I got tired of paying too much and decided to make my own.
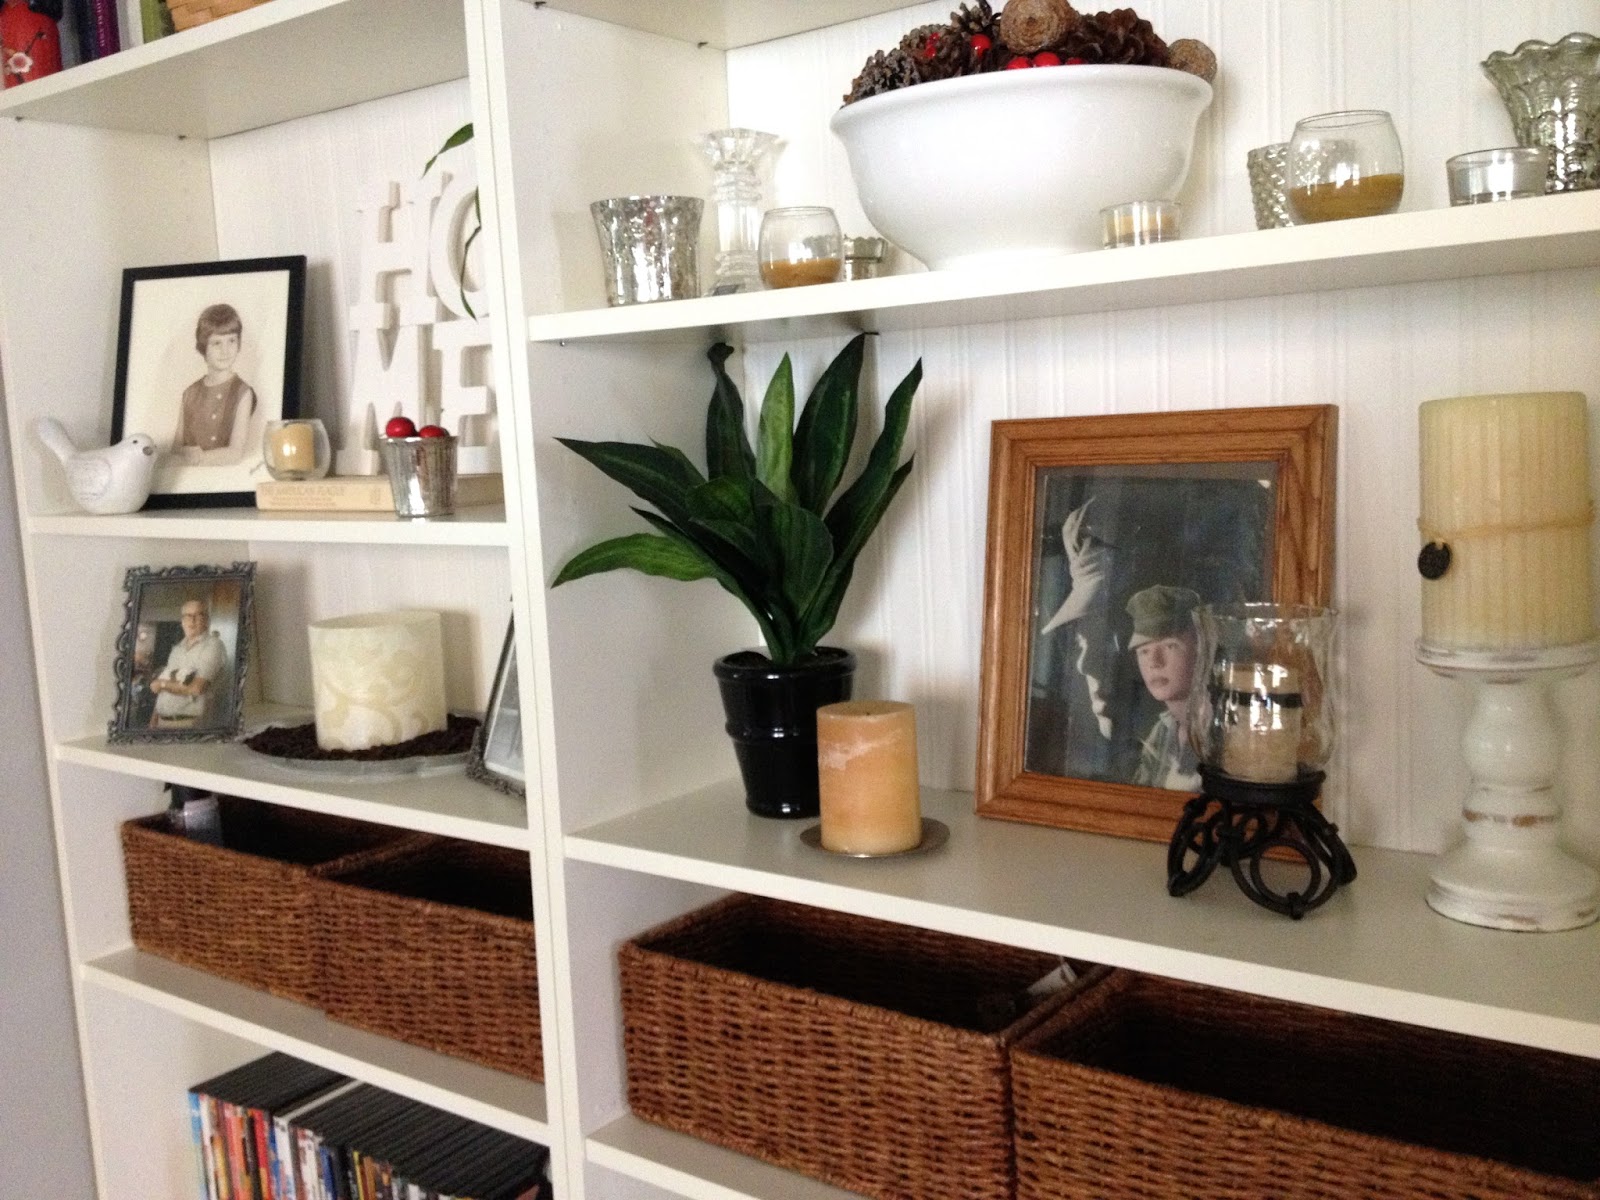
 Be forewarned: I am not an interior decorator, but I have spent a lot of time with one. I love making things look pretty and I am very particular and a slight perfectionist when it comes to the "rules" of decorating. In fact, many of my friends and family as me for decorating advice, particularly with paint colors and centerpieces.
 Pieces that are grounded by some object-- a tray, a placemat, a table runner--- will give you boundaries so you know what you have to work with. For most people, this is the easiest way to create a visually appealing focal point.


 This was one of the most simple and cheapest craft projects I've done. It's as simple as clipping clothes pins onto wire and cost less than $8 to make. Win!!


